Bright, Bouncy, and Beautiful: Homemade Rainbow Balls for Kids
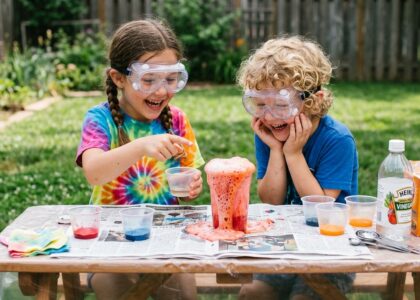
We create unforgettable moments of creativity and learning when children engage in colorful hands-on activities. One of the most exciting and visually delightful crafts we can introduce is the homemade rainbow ball experiment. These vibrant balls combine science, creativity, and playful exploration, allowing children to mix colors, shape materials, and observe fascinating transformations.
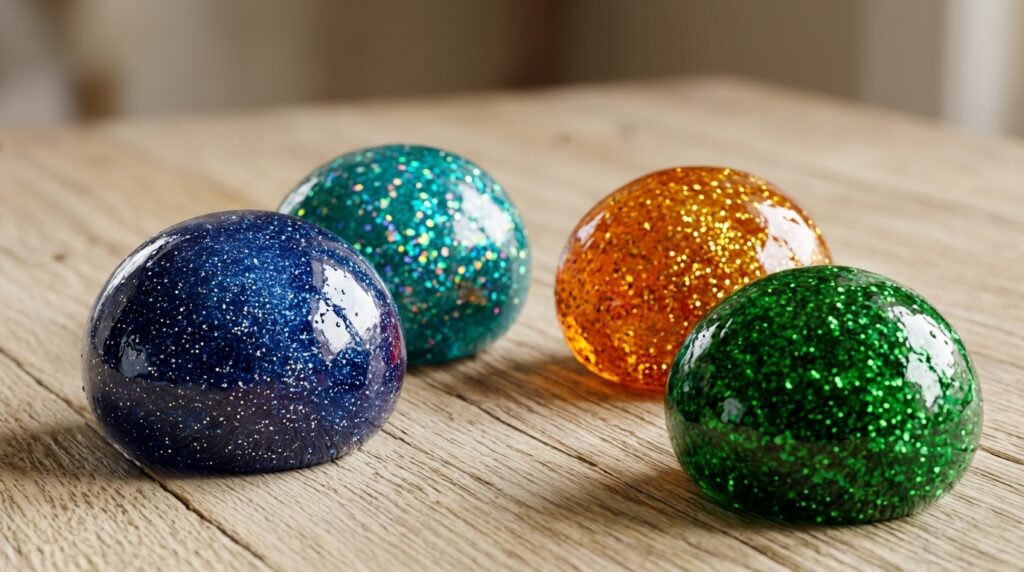
Rainbow balls are soft, squishy, and beautifully layered with bright colors that swirl together like miniature rainbows. They are simple to make using safe household ingredients, making them perfect for classroom projects, rainy-day activities, or creative family time.
With just a few steps, we transform simple ingredients into brightly colored, stretchy balls that children love to squeeze, bounce, and admire.
Ingredients for Homemade Rainbow Balls
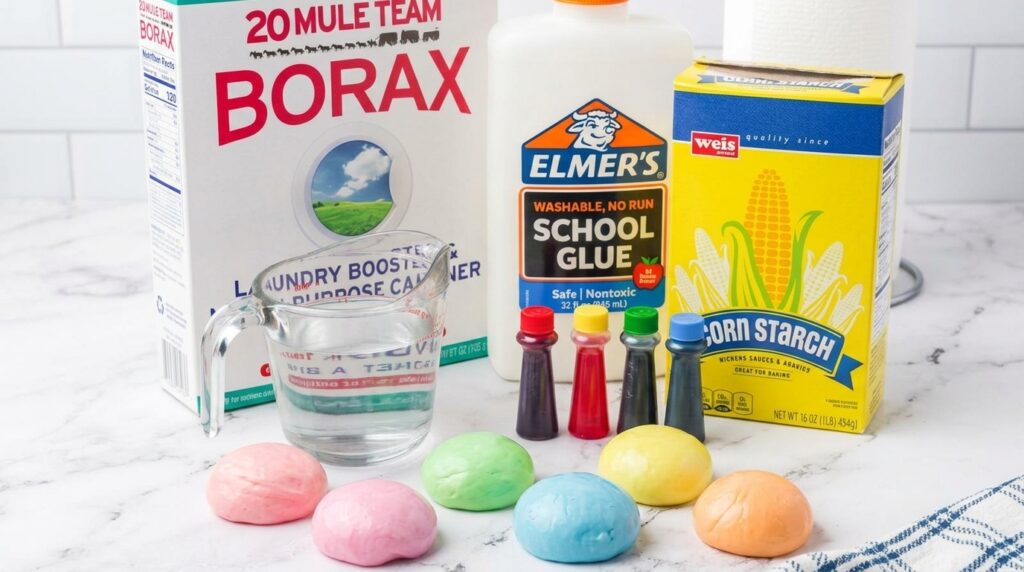
To prepare these colorful creations, we gather simple materials that are commonly found at home. These ingredients combine to form a soft polymer mixture that can be shaped into vibrant balls.
Essential Ingredients
- 1 cup white school glue
- 1/2 cup warm water
- 1 tablespoon baking soda
- 1 tablespoon contact lens solution
- Food coloring in multiple rainbow shades
- 1 teaspoon vegetable oil (optional for softness)
Tools You Will Need
- Several small mixing bowls
- Measuring cups and spoons
- Stirring sticks or spoons
- Disposable gloves (optional)
- A clean workspace
These materials allow us to prepare multiple colors at once, which is essential for creating the beautiful rainbow effect inside the balls.
Step-by-Step Recipe for Making Rainbow Balls
Step 1: Prepare the Base Mixture
We begin by pouring 1 cup of white school glue into a mixing bowl. Next, we add 1/2 cup of warm water and stir slowly until the mixture becomes smooth and evenly blended.
This base forms the soft structure of the rainbow balls and allows the colors to mix beautifully later.
Step 2: Add Baking Soda
Next, we add 1 tablespoon of baking soda to the mixture and stir thoroughly.
The baking soda helps stabilize the material and prepares it for the chemical reaction that will transform the liquid into a flexible, moldable substance.
At this stage, the mixture should appear smooth, glossy, and slightly thick.
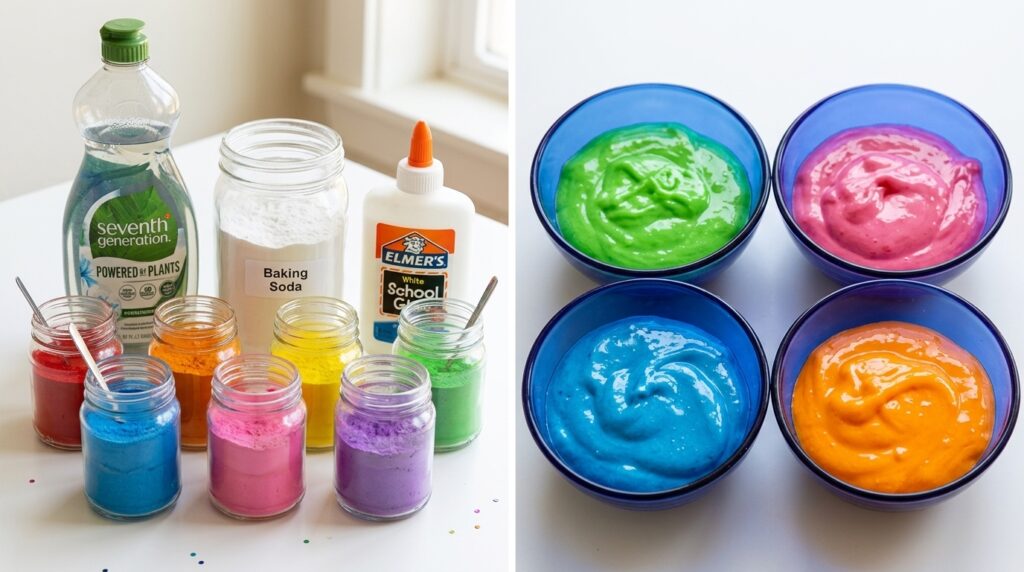
Step 3: Divide the Mixture Into Color Portions
To create the rainbow effect, we divide the mixture into five or six smaller bowls.
Each bowl will become a different color of the rainbow:
- Red
- Orange
- Yellow
- Green
- Blue
- Purple
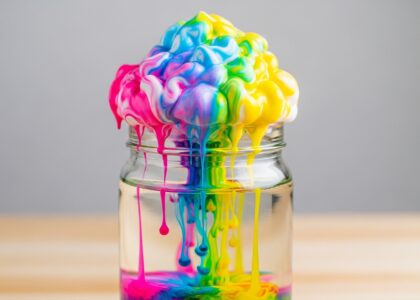
Add several drops of food coloring into each bowl and stir carefully until the colors become bright and vibrant.
Soon the table will be filled with bowls of rich, glowing colors ready to transform into rainbow magic.
Step 4: Activate the Polymer Reaction
Now we add contact lens solution to each colored mixture. This ingredient contains compounds that cause the glue molecules to link together and form a flexible polymer.
Add one teaspoon of contact lens solution into each bowl while stirring continuously.
Within seconds, the mixture begins to thicken and pull away from the sides of the bowl. It transforms from a liquid into a soft, stretchy material.
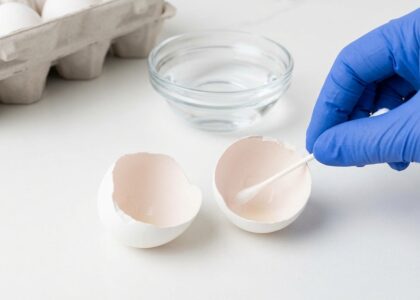
Step 5: Knead Each Color
Once the mixture thickens, we remove it from the bowl and knead it gently with our hands.
At first it may feel slightly sticky, but after a minute of kneading it becomes smooth, elastic, and easy to shape.
Repeat this process for every colored portion until we have several soft balls of different colors.
Step 6: Create the Rainbow Ball
Now comes the most exciting part.
We take small pieces from each colored ball and press them together into one large ball. The colors blend slightly while still keeping their bright stripes and swirls.
Roll the combined mixture between your palms to form a perfectly round rainbow ball.
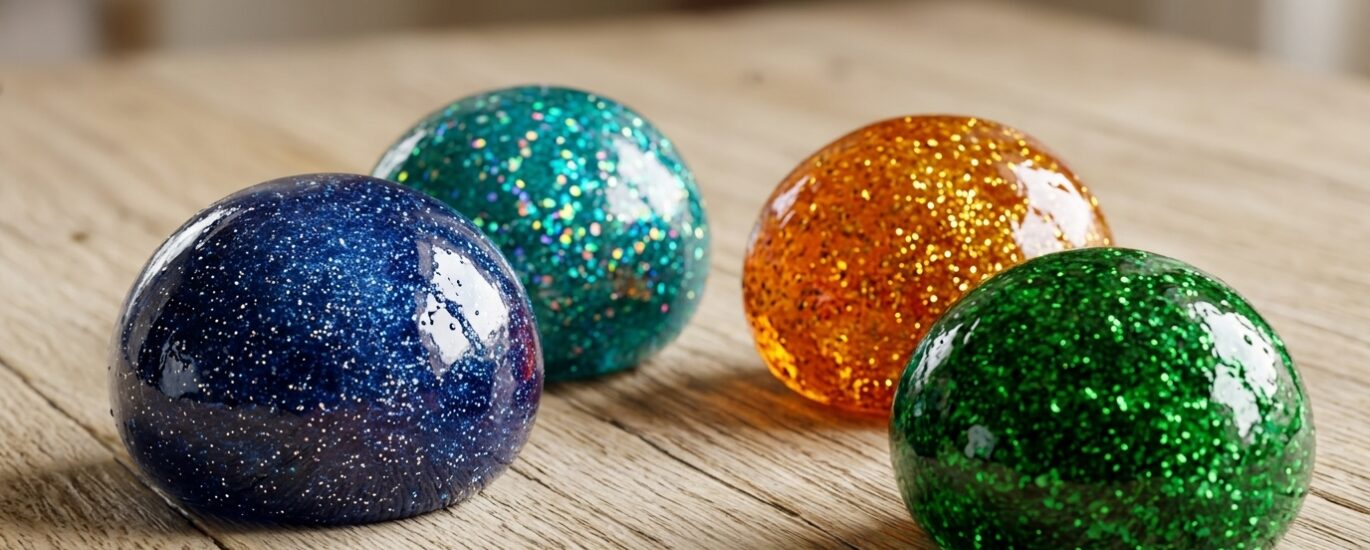
As the colors swirl together, the ball becomes a stunning marbled rainbow sphere filled with vibrant patterns.
The Science Behind Rainbow Balls
While this activity feels like simple play, it actually demonstrates fascinating scientific principles.
White glue contains polyvinyl acetate, a polymer that forms long molecular chains. When the contact lens solution is added, it creates links between these chains.
These links transform the liquid glue into a flexible solid polymer, giving the rainbow balls their unique texture and stretchiness.
The process shows how chemistry can change the structure of materials, turning ordinary ingredients into something completely new.
Creative Ways to Customize Rainbow Balls
Children love experimenting with different colors and textures. We can easily add creative variations to make each rainbow ball unique.
Glitter Rainbow Balls
Add fine glitter into the colored mixtures before activating the polymer. The finished ball sparkles beautifully when light hits its surface.
Glow-in-the-Dark Rainbow Balls
Mix glow powder or glow paint into one of the colors to create glowing streaks inside the ball.
Confetti Rainbow Balls
Add tiny pieces of colored paper or craft confetti for a festive appearance.
Each variation produces a new visual effect that makes the experiment even more exciting.
Tips for Perfect Rainbow Balls
To achieve the best results, we follow a few simple guidelines:
- Knead each color until smooth and non-sticky
- Use bright food coloring for vivid rainbow effects
- Combine colors gently to keep distinct swirls and patterns
- Store finished balls in airtight containers to maintain softness
With these tips, rainbow balls stay stretchy, colorful, and fun to play with.
Educational Benefits for Children
Rainbow ball experiments encourage learning in many ways.
Children develop:
- Fine motor skills while kneading and shaping
- Color recognition while mixing rainbow shades
- Scientific curiosity by observing chemical changes
- Creative confidence through hands-on discovery
The activity blends art, science, and imagination, making learning feel exciting rather than instructional.
Why Children Love Making Rainbow Balls
Few activities capture attention as effectively as colorful transformations. Watching liquids turn into soft solids, shaping bright colors together, and holding a finished rainbow ball in their hands gives children a deep sense of accomplishment.
The swirling patterns inside the ball resemble miniature galaxies or marble rainbows, making each one a unique work of colorful science art.
Simple ingredients, a little mixing, and a bit of creativity create an experience that children remember long after the activity ends.
Rainbow balls prove that science and creativity together can turn ordinary moments into vibrant discoveries.