
Introduction to the Fascinating Baking Soda Tree Experiment
Science becomes truly exciting when we transform ordinary household ingredients into something extraordinary. One of the most engaging and visually captivating experiments we can create at home is the Baking Soda Tree, a creative DIY science project that blends chemistry, creativity, and hands-on discovery. With simple materials and a little patience, we can watch delicate crystal branches grow and form a miniature tree structure that looks almost magical.

The baking soda tree experiment is perfect for students, families, educators, and anyone curious about simple chemical reactions and crystal formation. It allows us to explore scientific concepts while crafting a beautiful visual display. Through this project, we observe capillary action, evaporation, and crystal growth all working together to produce a stunning tree-like structure.
Let us explore how to create this fascinating project step by step, understand the science behind it, and discover tips for achieving the most impressive results.
What Is a Baking Soda Tree?
A Baking Soda Tree is a homemade crystal-growing experiment where baking soda crystals slowly form on a paper structure, eventually resembling branches of a tree. As the solution travels upward through absorbent material, water evaporates and leaves behind crystallized baking soda deposits.
Over time, these deposits accumulate and expand outward, creating the appearance of snow-covered branches or frost-coated leaves.
The project demonstrates several key scientific principles:
- Capillary action that moves liquid through porous materials
- Evaporation, which removes water and leaves minerals behind
- Crystal formation, where dissolved particles arrange into solid structures
The result is a striking miniature “tree” that grows before our eyes.
Materials Needed for the Baking Soda Tree Project
One of the reasons this project is so popular is that it requires simple and inexpensive household materials. Most items can be found in any kitchen or craft drawer.
Required Materials
- Baking soda (sodium bicarbonate)
- Water
- Two small glasses or jars
- Absorbent paper or paper towels
- Cardboard or thick paper
- Food coloring (optional but recommended)
- A shallow tray or plate
- Scissors
- Spoon for stirring
Using these materials, we can construct a basic structure that will support the formation of beautiful crystals.
Step-by-Step Instructions to Build Your Baking Soda Tree
Step 1: Prepare the Tree Shape
First, we create the tree framework.
- Cut two identical tree shapes from thick paper or cardboard.
- Each piece should include branches to mimic the shape of a real tree.
- Cut a slit halfway up the center of one tree from the bottom.
- Cut another slit halfway down the center of the second tree from the top.
- Slide the two pieces together so they interlock, forming a 3D tree structure.
This cross-shaped frame allows the crystals to grow on multiple sides.
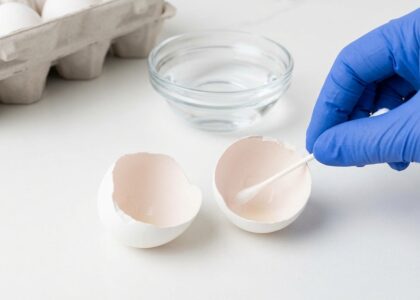
Step 2: Prepare the Baking Soda Solution
Next, we create the crystal-growing solution.
- Pour warm water into a small bowl or glass.
- Gradually add baking soda while stirring continuously.
- Continue adding until the solution becomes fully saturated and no more baking soda dissolves.
A saturated solution ensures strong crystal formation as evaporation begins.
Step 3: Add Color for a Beautiful Effect
Although optional, food coloring dramatically enhances the visual impact of the experiment.
- Add a few drops of food coloring to each glass.
- Different colors can be used to create multi-colored crystal branches.
As the crystals grow, they absorb the color and produce a vibrant appearance.
Step 4: Set Up the Crystal Growth System
Now we assemble the experiment.
- Place the two glasses a few inches apart.
- Fill each glass with the baking soda solution.
- Place the paper tree so that each side touches the liquid in the glasses.
- Position everything on a tray to catch any drips.
The paper absorbs the liquid and begins transporting it upward through the tree structure.
Step 5: Watch the Tree Grow
Over the next several hours and days, something remarkable happens.
The solution travels through the paper via capillary action, carrying dissolved baking soda along with it. As the water reaches the air, it evaporates, leaving behind tiny crystals. These crystals gradually build up along the edges and branches of the paper tree.
Within 24 hours, the branches begin to look frosty.
Within 48 hours, thick clusters of crystals may form, resembling snow or delicate coral.
The transformation is both scientific and artistic.
Understanding the Science Behind the Baking Soda Tree
The beauty of this experiment lies not only in its appearance but also in the scientific processes it demonstrates.
Capillary Action
Paper towels and absorbent paper contain microscopic channels. These channels pull water upward against gravity, a phenomenon known as capillary action. This same process allows plants to transport water from roots to leaves.
Evaporation
When the water reaches the surface of the paper tree, it begins to evaporate into the air. As the liquid disappears, the dissolved baking soda cannot remain suspended and begins to crystallize.
Crystal Formation
Baking soda molecules arrange themselves into solid crystal structures as the solution dries. Over time, these crystals accumulate, forming the branching, tree-like pattern that gives the experiment its name.
Tips for Growing the Most Impressive Baking Soda Tree
Small adjustments can significantly improve the results of this experiment.
Use Warm Water
Warm water dissolves baking soda more effectively, creating a stronger saturated solution that produces better crystals.
Choose Highly Absorbent Paper
Paper towels or thick absorbent paper allow the solution to travel more efficiently, encouraging faster crystal growth.
Keep the Experiment Undisturbed
Movement can disrupt crystal formation. Place the experiment in a stable location where it will remain untouched for several days.
Maintain a Dry Environment
Lower humidity allows water to evaporate faster, which helps crystals form more quickly.
Creative Variations of the Baking Soda Tree
Once we master the basic experiment, we can experiment with creative variations.
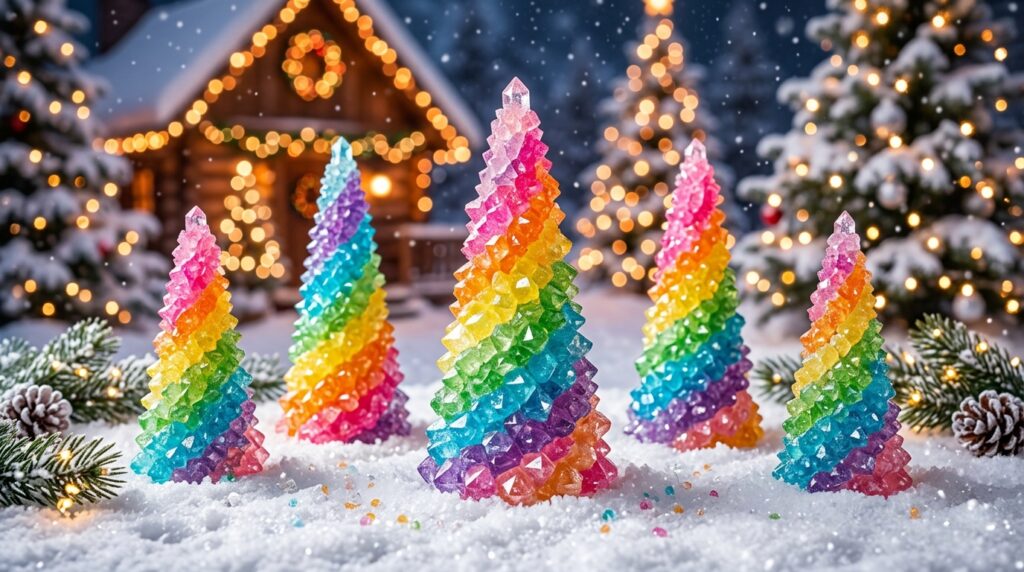
Rainbow Crystal Trees
Using multiple colors in different cups produces multi-colored crystal branches.
Forest of Trees
Instead of one tree, we can create several smaller trees to produce an entire miniature crystal forest.
Holiday Decoration Trees
By shaping the paper like a pine tree and using green and red food coloring, the experiment becomes a festive science decoration.
Educational Benefits of This DIY Science Project
The baking soda tree project is more than just a fun craft. It also offers valuable learning opportunities.
Students and young scientists can explore:
- Basic chemistry concepts
- Crystal growth and mineral formation
- Scientific observation and experimentation
- Hands-on STEM learning
Because the experiment unfolds over time, it encourages patience and curiosity as we observe gradual changes.
Why the Baking Soda Tree Is a Perfect Home Science Experiment
The success of this project lies in its simplicity and wonder. With only a few household materials, we can produce a visually striking demonstration of chemistry in action.
The experiment requires no specialized equipment, making it ideal for:
- School science demonstrations
- Family learning activities
- Classroom STEM projects
- Weekend science fun
Most importantly, it sparks curiosity and invites exploration.
Conclusion: Turning Simple Ingredients into Scientific Wonder
Creating a Baking Soda Tree reminds us that science does not need to be complicated to be extraordinary. Through a simple combination of baking soda, water, and paper, we witness the powerful forces of evaporation, capillary action, and crystal formation working together.
The result is both educational and beautiful a miniature tree made entirely of sparkling crystals.
By building this project ourselves, we turn our home into a small laboratory where creativity and science grow side by side. With patience and curiosity, even the simplest ingredients can reveal the hidden beauty of chemistry