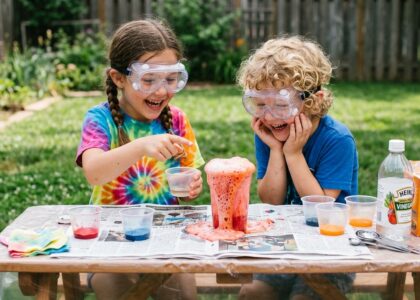
Creating beautiful geode crystals from eggshells is a fascinating and creative activity that combines science, art, and a bit of patience. This simple home experiment allows us to transform ordinary eggshells into sparkling crystal formations that resemble natural geodes found in nature. Not only does the process produce stunning results, but it also introduces children and adults alike to the wonders of crystal growth and basic chemistry.
By using common kitchen ingredients and a few craft supplies, we can grow vibrant crystals inside eggshells that shimmer in shades of purple, blue, pink, or green. The project is perfect for family activities, school science experiments, or weekend crafts, and the final creations make beautiful decorations or gifts.
In this guide, we explore how to make these dazzling crystal geodes at home, the ingredients needed, and the step-by-step process that leads to stunning crystal formations.
Ingredients Needed for Eggshell Crystal Geodes
Before starting the experiment, we gather all the materials required to grow the crystals. Most of these ingredients are easy to find and inexpensive, making this activity accessible for everyone.
Main Ingredients
- Eggshell halves (from 3–4 eggs)
- 1 cup borax powder (sodium borate)
- 2 cups very hot water
- Food coloring (any color you prefer)
- White school glue
Additional Supplies
- Small bowls or cups
- A spoon for mixing
- A baking tray or egg carton
- A kettle or pot for heating water
- Paper towels
Each of these ingredients plays an important role in forming the sparkling crystal structure inside the eggshells.
Preparing the Eggshells for Crystal Growth
The first step in creating eggshell geodes is preparing the shells so that crystals can grow on their surfaces.
We begin by carefully cracking eggs near the top rather than the center. This creates deeper shell halves that resemble small bowls. After removing the egg contents for cooking, we rinse the shells gently under warm water to remove any remaining egg white or yolk.
Next, we allow the shells to dry completely. Clean shells are important because leftover egg residue can interfere with the crystal growth.
Once dry, we place the eggshell halves in an egg carton or baking tray to keep them stable during the experiment.
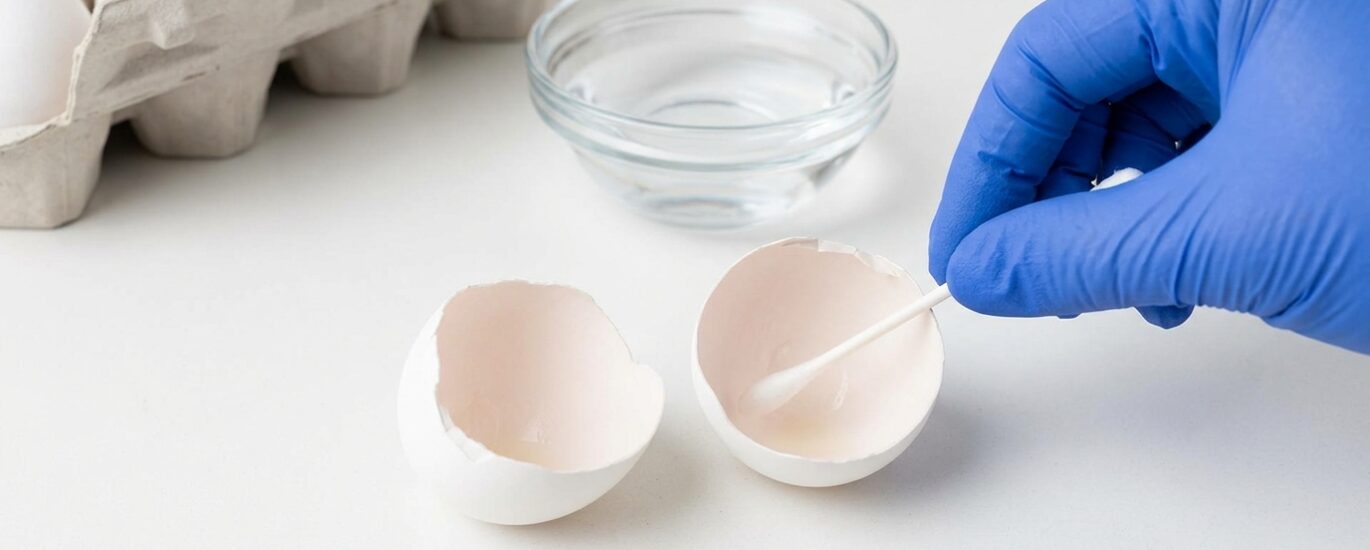
Adding the Crystal “Seed” Layer
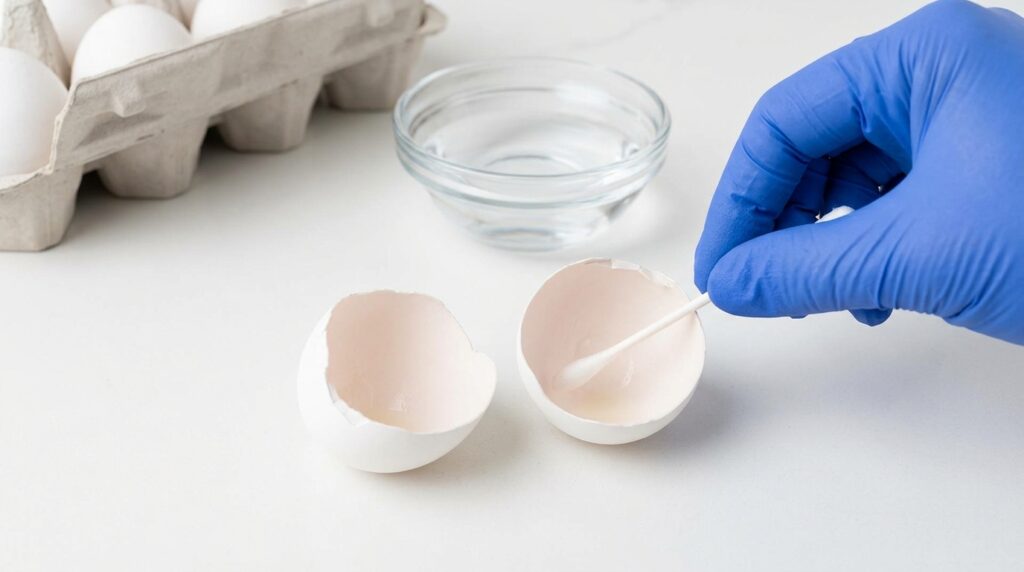
To encourage crystal growth, we create a textured base layer inside each eggshell.
We brush or spread a thin layer of white glue along the inner surface of each shell. While the glue is still wet, we sprinkle a small amount of borax powder into the shell.
This step is essential because the tiny borax grains act as seed crystals, giving the larger crystals a place to start forming.
After coating the shells, we leave them aside for about 20–30 minutes so the glue can dry and hold the borax grains in place.
Preparing the Crystal Growing Solution
The next step involves creating the solution that will grow the crystals.
We heat two cups of water until it becomes very hot, ideally close to boiling. Hot water is necessary because it helps dissolve a larger amount of borax powder.
In a bowl or cup, we slowly add borax powder to the hot water, stirring continuously. We continue adding borax until the water becomes fully saturated, meaning no more powder dissolves and a small amount remains at the bottom.
This type of mixture is known as a supersaturated solution, which is perfect for growing crystals.
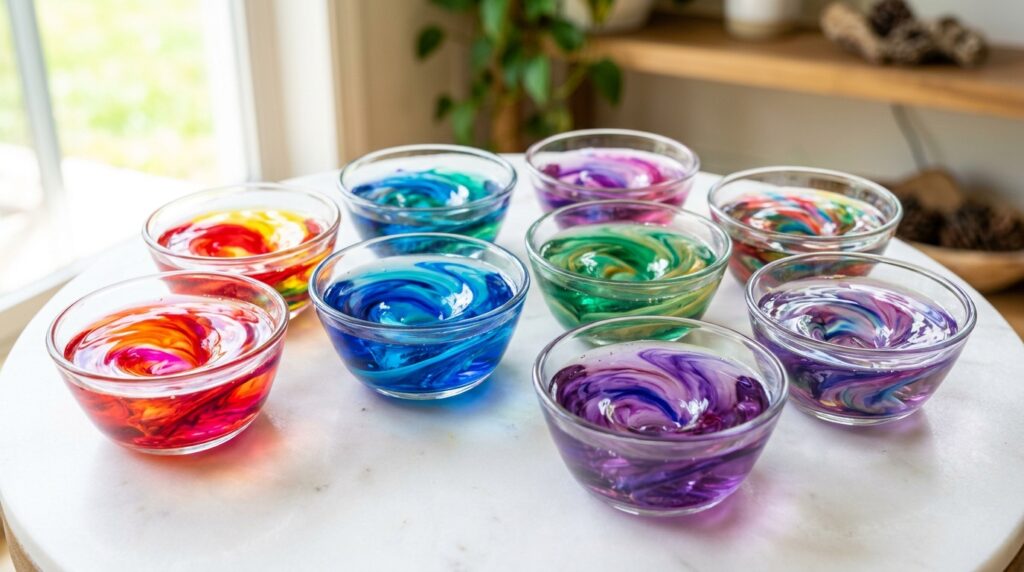
At this point, we add several drops of food coloring to the solution. The coloring will tint the crystals as they form, creating the beautiful geode effect.
Growing the Colorful Crystals
Once the solution is ready, we carefully pour it into the eggshell halves until each shell is nearly full.
The shells should remain stable in their egg carton or tray so the liquid does not spill.
Now comes the most exciting part: waiting for the crystals to grow.
As the solution cools, the dissolved borax begins to re-form into solid crystals. These crystals attach to the seed layer inside the shell and slowly expand outward, forming clusters that resemble natural mineral formations.
Within several hours, small crystals begin to appear. However, for the most impressive results, we allow the shells to sit overnight or up to 24 hours.
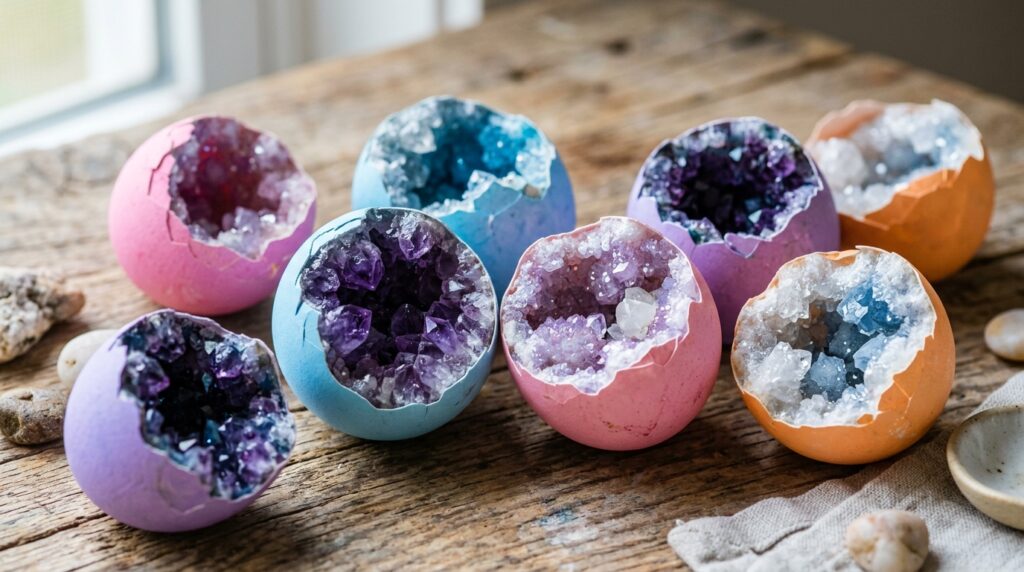
During this time, the crystals grow larger and more defined, filling the inside of the eggshell with sparkling formations that look like miniature geodes.
Removing and Drying the Crystal Geodes
After the crystals have fully formed, we carefully pour out the remaining liquid from each shell.
We place the shells on paper towels and allow them to dry completely. As they dry, the crystals become more visible and begin to sparkle in the light.
The finished eggshell geodes can then be displayed in a bowl, placed on a shelf, or used in creative craft projects.
Why Crystals Form in This Experiment
The science behind this experiment is both simple and fascinating.
When borax dissolves in hot water, the water molecules hold the borax particles in solution. As the water cools, it can no longer hold as much dissolved material, so the borax begins to crystallize and attach to surfaces.
The seed crystals placed in the shells provide a starting point for crystal growth, allowing larger crystals to form in organized patterns.
This process is similar to how natural geodes develop inside rocks over thousands of years, where mineral-rich water slowly deposits crystals within hollow cavities.
Creative Color Ideas for Crystal Geodes
One of the most enjoyable aspects of this activity is experimenting with different colors and combinations.
Some popular color themes include:
- Purple amethyst-style geodes
- Bright blue crystal formations
- Soft pink crystal clusters
- Emerald green mineral designs
We can also mix two colors together to create unique gradients and layered crystal effects.
For an extra magical touch, adding glitter or metallic food coloring can produce crystals that shimmer beautifully under light.
Educational Benefits of This Experiment
This crystal-growing activity offers many educational advantages, especially for children.
Introduction to Chemistry
Children learn about:
- Crystal formation
- Supersaturated solutions
- Mineral structures
- Temperature effects on solubility
Encouraging Patience
Unlike instant experiments, crystal growth requires waiting. This helps children develop patience and observation skills.
Hands-On Scientific Learning
The activity encourages curiosity and experimentation. Children may want to test:
- Different colors
- Larger shells
- Longer growing times
Each variation leads to slightly different crystal formations.
Tips for Growing Bigger Crystals
For even more impressive results, we can follow a few helpful tips:
- Use very hot water to dissolve more borax.
- Allow the crystals to grow undisturbed overnight.
- Avoid moving the shells while crystals are forming.
- Use deeper eggshell halves to hold more solution.
These simple adjustments can produce larger, more dramatic crystal clusters.
Displaying Your Homemade Crystal Geodes
Once the geodes are complete, they make wonderful decorations.
Creative display ideas include:
- Arranging them in a glass bowl centerpiece
- Using them as science fair projects
- Placing them in shadow boxes or craft displays
- Giving them as handmade gifts
Each geode is unique, making every creation a miniature work of natural art.
Conclusion
Making colorful geode crystals from eggshells is a delightful combination of science experiment and creative craft. With simple ingredients and a little patience, we can transform fragile eggshells into sparkling crystal treasures that resemble real geological formations.
This activity not only produces beautiful results but also provides an engaging introduction to crystal growth and chemical reactions. Whether performed at home, in classrooms, or during science-themed events, the experiment inspires curiosity and appreciation for the hidden beauty of chemistry.
By experimenting with colors, shapes, and growing times, we discover that even the simplest materials can create amazing scientific wonders right in our own kitchen.